
Prepare Artwork for an Embroidery Digitizer
Review raster or vector reference artwork at the intended embroidery size, then hand dimensions, detail priorities and color references to a separate digitizer.
Free Protected Preview
Protected Vector Preview (optional; SVG export requires authorization)
No account is required to create or view the protected preview. The preview accepts one PNG, JPEG, or WebP file up to 4 MiB; other source formats must be exported or converted to one of those formats first. Editable SVG export requires paid or complimentary access. Review the exported SVG in the appropriate downstream software; non-SVG formats and machine instructions require separate conversion.
Open Protected Vector Preview (optional; SVG export requires authorization)Choose a raster reference or a vector-preparation route
A digitizer can specify an acceptable raster reference; vectorization is optional. Ask for the intended embroidery dimensions and source format before changing the artwork. Keep the clearest original, replace a heavily compressed copy where possible and use resizing only to meet an explicit reference request. Raster interpolation does not reconstruct missing observed detail. The following preparation steps apply when you choose the SVG route.
Prepare the source
Prepare the source before vectorizing: use the clearest authorized artwork available, crop unrelated material, improve useful contrast without erasing intentional detail, and identify the shapes and color regions that must remain distinct.
Inspect the protected preview
Upload an accepted PNG, JPEG, or WebP to create a protected preview. Review the preview against the source, and obtain editable SVG only through paid or complimentary authorization; the preview itself is not an editable export.
Review shapes at embroidery size
Inspect the SVG's shapes, gaps, color regions, and small details at the intended embroidery size. Watch for closed gaps, merged regions, stray fragments, or details that may not support the later digitizing plan, and revise the source or geometry when needed.
Hand off to a separate digitizer
Hand the reviewed SVG to separate embroidery-digitizing software or an embroidery professional. That separate workflow assigns stitch types, directions, density, sequencing, underlay, and machine-specific output; Vectorize Image does not perform those decisions.
Keep artwork claims separate from stitch results
SVG preparation does not guarantee a stitch file, any improvement to digitizing time or accuracy, or a successful embroidered result. A fixed color count or node count does not guarantee quality, so the digitizer must evaluate the artwork, material, scale, and machine requirements.
Worked gap inspection and adaptation brief
Illustrative reference: a 100 mm badge has a 2 mm gap between two letters. Reducing the badge to 50 mm makes the gap 1 mm. These are geometry calculations, not minimum stitch rules. Ask the digitizer whether the smaller gap, detached dot and thin border should remain, be enlarged or be removed for the selected fabric and technique.
Preserve the approved original and label any simplified variant. Do not remove every detail below a universal cutoff, minimize every node or expand every stroke automatically. Retain color regions, thread references, lettering and an explanation of which changes are acceptable; gradients or photographic content require a technique discussion rather than a categorical impossibility claim.
A software workflow is still separate from sewing
Ink/Stitch documents SVG preparation followed by embroidery parameters, stitch order, simulation, saving a machine format and a sew-out test: https://inkstitch.org/docs/workflow/
Its basic example uses Params and simulation, then Save a copy for the receiving machine format. That supports the distinction between geometry and stitch data, not successful import of your file or a physical result: https://inkstitch.org/docs/basic-usage/
Send a brief the digitizer can act on
- Include final width and height, placement, fabric/product, approved reference and the exact artwork revision. Include an acceptable raster reference if requested.
- List color or thread references and small details that must be preserved. Keep live-text masters; resolve font or stroke treatment in the actual digitizing workflow.
- Have the digitizer choose stitch type, direction, density, order, underlay and pull compensation for the job. Do not equate fewer SVG nodes with a better stitch plan.
- Confirm the required machine file separately and review a simulation and test sew with the responsible operator. Vectorize does not create DST, PES or other stitch files.
Owned geometry reference: A scaled gap needs deliberate adaptation

Method: authored SVG coordinates use a120 × 80 mm page and matching viewBox. Inspect the linked rendered objects at your actual delivery size. This local geometry reference is not an installed-application walkthrough or physical qualification.
Actual digitizing plan and machine-file reopen

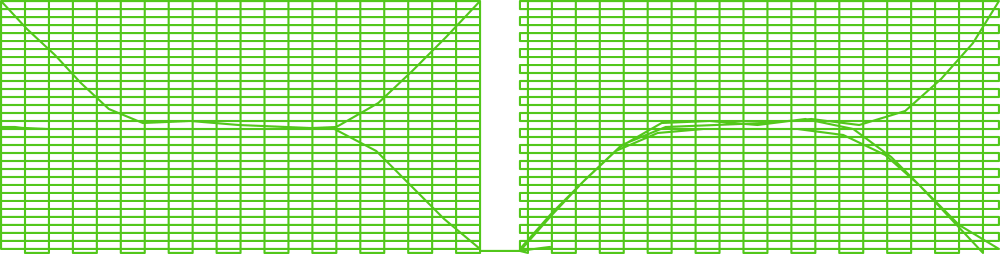
The owned adapted mark reopens the central gap to 2 mm while keeping its 50 mm width. Ink/Stitch 3.3.0 generated 947 stitches in one color using illustrative 0.4 mm row spacing and 3 mm maximum fill-stitch length. DST and PES were exported, and the DST was reopened through the actual input extension. These are separate local digitizing tools; Vectorize does not export stitch files. A digitizer still needs the real fabric, stabilizer, machine, thread and placement, followed by recipient review and a test sew.